
Demo Appliance for Tanzu Kubernetes Grid - Workshop Guide
Workshop Guide for Demo Appliance for Tanzu Kubernetes Grid 1.2.0 Fling
Pre-requisites: https://vmc.techzone.vmware.com/resource/demo-appliance-tanzu-kubernetes-grid-prerequisites
TKG Cluster Deployment
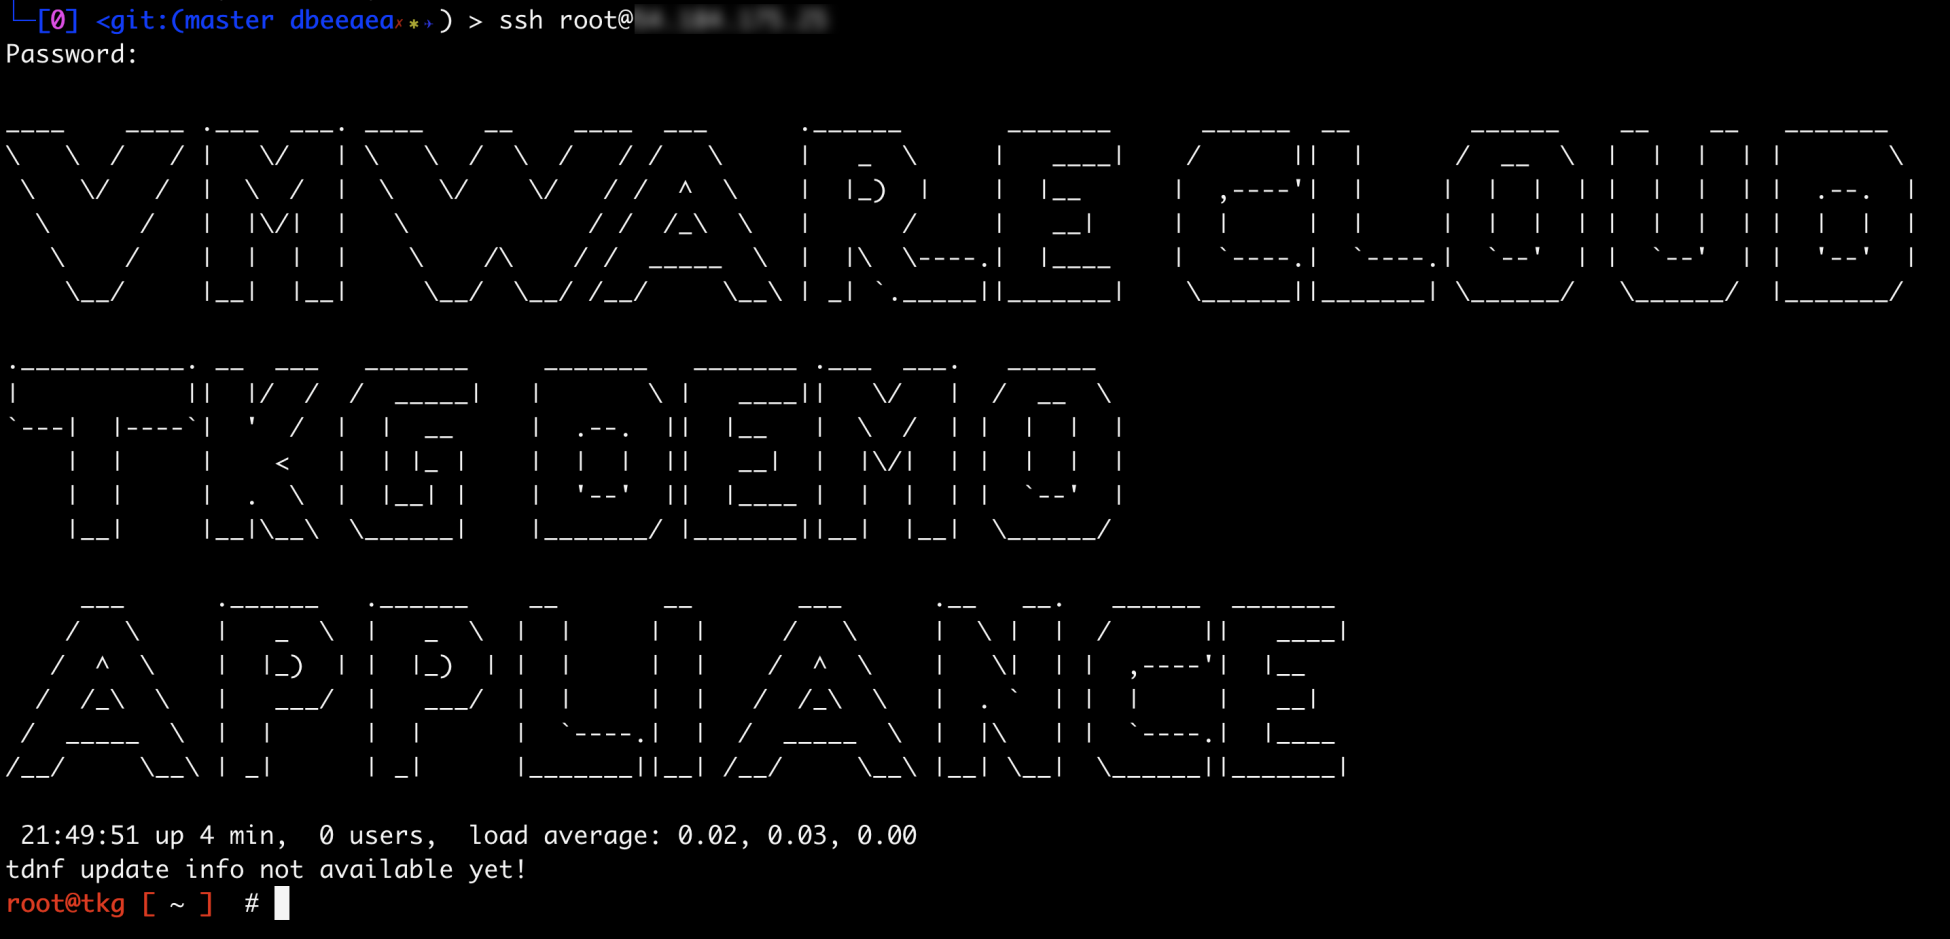
Step 1. SSH to TKG Demo Appliance
SSH to the TKG Demo Appliance using root. If you can access the VM without going over the public internet, then the address would be 192.168.2.2 or whatever address you had configured for the TKG Demo Appliance.
Step 2. Deploy TKG Management Cluster
There are two methods in setting up TKG, using either the TKG UI or CLI. Both methods are documented below.
TKG UI
Run the following command to start the UI wizard:
tkg init --ui
Open up another terminal session on your workstation and run the following command to use SSH port forwarding so we can connect to the TKG UI from your local workstation:
ssh root@<public-ip> -L 8080:127.0.0.1:8080 -N
Note: The local port can be any port that is NOT in use on your local network. In the example above, we are choosing 8080. You can use another port in case 8080 is in use, but it looks like a side effect is that no progress is shown in the TKG UI which is a known issue.
If you are on Windows, you can use Putty to setup SSH port forwarding using the following configuration:
Under Connection->SSH->Tunnels use 8080 for Source Port and 127.0.0.1:8080 for Destination and then click on the “Add” button

Under Session use ssh root@192.168.2.2 (or whatever internal IP you had configured the TKG Demo Appliance) and then login with your credentials

Note: If the SSH port forwarding was successfull, you will not see the terminal return and it will look like it is hanging. This is expected or else you would be prompted to enter the correct password if you had miss-typed it.
Once you have succesfully open the connection, open a local web browser and navigate to localhost:8080 and you should be taken to the following screen

Click on “Deploy your management cluster on VMware vSphere” to begin the deployment
IaaS Provider
Enter your VMC vCenter Server information and then click “Connect” button and fill the Datacenter and SSH Key (you can use dummy value if you don’t have SSH key) but this is useful if you need to SSH into any of the TKG Nodes (username capv)

When prompted, select Deploy TKG Management Cluster

Managment Cluster Settings
Select Development Flavor and specify a size, then give the K8s Management Cluster a name and specify the HA Proxy VM Template. The difference between the “Development” and “Production” plan is number of Control Plane and Worker Node VMs that are deployed.
Using the “Development” plan, 1 x Control Plane and 1 x Worker Node is provisioned. Using the “Production” plan, 3 x Control Plane and 3 x Worker Node is provisioned. You can always scale up post-deployment by using the tkg scale cluster operation.

Resources
Select TKG Resource Pool, VM Folder and WorkloadDatastore

Metadata
This section is optional. You can leave blank
Kubernetes Network
Select tkg-network and leave the other defaults

OS Image
Selec thte K8s PhotonOS Template

Customer Improvement Experience Program
You can leave the default
Review
Review all settings to ensure they match and then click “Deploy Management Cluster” button at the bottom to begin the deployment.

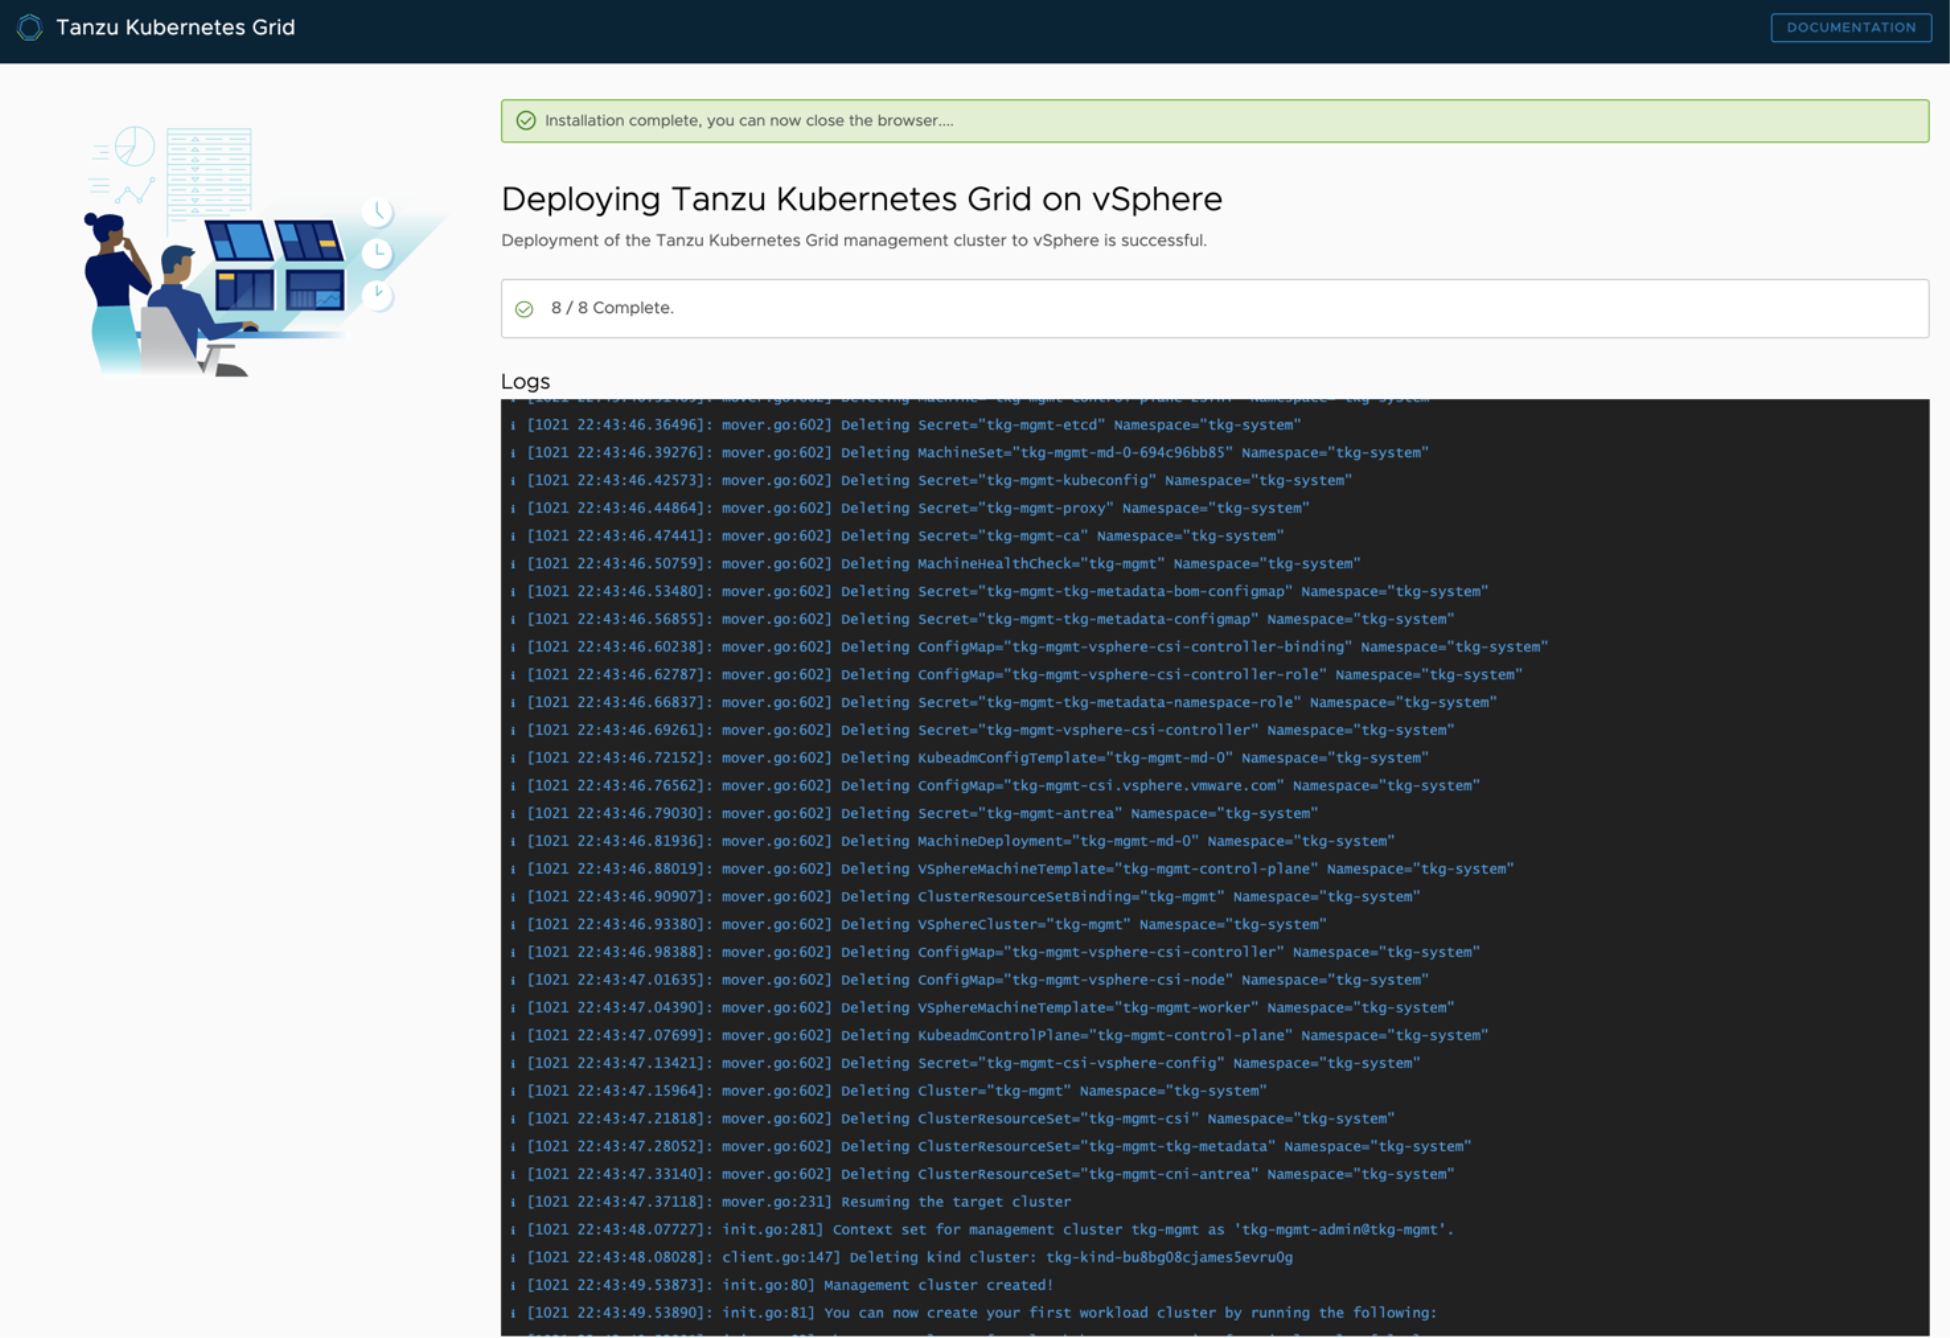
This can take ~6-10 minutes to complete and once the Management Cluster has been deployed, you can go close the web browser and go back to your first SSH session and do ctrl+c to stop the TKG UI.
We can verify that all pods are up by running the following command:
# k get pods -A

NAMESPACE                           NAME                                                             READY   STATUS    RESTARTS   AGE
capi-kubeadm-bootstrap-system       capi-kubeadm-bootstrap-controller-manager-76bc7c598c-6fshd       2/2     Running   0          11m
capi-kubeadm-control-plane-system   capi-kubeadm-control-plane-controller-manager-586dd6b4cb-mjn47   2/2     Running   0          11m
capi-system                         capi-controller-manager-6bff5bbc67-npcj5                         2/2     Running   0          11m
capi-webhook-system                 capi-controller-manager-68d86774dd-7cdp2                         2/2     Running   0          11m
capi-webhook-system                 capi-kubeadm-bootstrap-controller-manager-5b56f68cc6-7895g       2/2     Running   0          11m
capi-webhook-system                 capi-kubeadm-control-plane-controller-manager-8c6f86d9c-ph7x4    2/2     Running   0          11m
capi-webhook-system                 capv-controller-manager-c877dc585-4s2rk                          2/2     Running   0          11m
capv-system                         capv-controller-manager-5c678887b4-mjhfx                         2/2     Running   0          11m
cert-manager                        cert-manager-74c876585c-6sst5                                    1/1     Running   0          12m
cert-manager                        cert-manager-cainjector-d8d75bc8d-9w4zv                          1/1     Running   0          12m
cert-manager                        cert-manager-webhook-bb58d99c-v6n6k                              1/1     Running   0          12m
kube-system                         antrea-agent-lcnkb                                               2/2     Running   0          12m
kube-system                         antrea-agent-qlwzj                                               2/2     Running   0          12m
kube-system                         antrea-controller-7d888bb6-pd657                                 1/1     Running   0          12m
kube-system                         coredns-7879bb4549-2qnhp                                         1/1     Running   0          12m
kube-system                         coredns-7879bb4549-cfjsq                                         1/1     Running   0          12m
kube-system                         etcd-tkg-mgmt-control-plane-2sfhl                                1/1     Running   0          13m
kube-system                         kube-apiserver-tkg-mgmt-control-plane-2sfhl                      1/1     Running   0          13m
kube-system                         kube-controller-manager-tkg-mgmt-control-plane-2sfhl             1/1     Running   0          13m
kube-system                         kube-proxy-45l6l                                                 1/1     Running   0          12m
kube-system                         kube-proxy-lf59s                                                 1/1     Running   0          12m
kube-system                         kube-scheduler-tkg-mgmt-control-plane-2sfhl                      1/1     Running   0          13m
kube-system                         kube-vip-tkg-mgmt-control-plane-2sfhl                            1/1     Running   0          13m
kube-system                         vsphere-cloud-controller-manager-pw4fl                           1/1     Running   0          12m
kube-system                         vsphere-csi-controller-569d88c74d-77nfg                          5/5     Running   0          12m
kube-system                         vsphere-csi-node-hv8zr                                           3/3     Running   0          12m
kube-system                         vsphere-csi-node-xf56w                                           3/3     Running   0          12m
TKG CLI
Edit config.yaml using either the vi or nano editor and update the VSPHERE_SERVER variable with the Internal IP Address of your VMC vCenter Server (e.g. 10.2.224.4) and VSPHERE_PASSWORD variable with the credentials for cloudadmin@vmc.local account and save the file when you have finished. If you have other changes that deviate from this example, make sure to update those as well including the name of the K8s and HA Proxy vSphere Template.
VSPHERE_SERVER: '10.2.224.4'
VSPHERE_USERNAME: 'cloudadmin@vmc.local'
VSPHERE_PASSWORD: 'FILL-ME-IN'
...
...
Note: The config.yaml is just an example for demo purposes. You can update other variables to match your environment. When using the TKG UI, it will automatically generate and update .tkg/config.yaml and you can use that method to see what variable and values are used.
Run the following command to copy our sample config.yaml into .tkg directory:
cp config.yaml .tkg/config.yaml
Run the following command and specify the Virtual IP Address to use for Management Control Plane to deploy K8s Management Cluster:
tkg init -i vsphere -p dev --name tkg-mgmt --vsphere-controlplane-endpoint-ip 192.168.2.10
When prompted for the two questions, you can answer n and y to continue the deployment.
Note: By default, the TKG dev plan will be used. If you wish to specify, simply use --plan=prod to specify the prod plan.
This will take ~6-8 minutes to complete and once the Management Cluster has been deployed, we can verify that all pods are up by running the following command:
# k get pods -A

NAMESPACE                           NAME                                                             READY   STATUS    RESTARTS   AGE
capi-kubeadm-bootstrap-system       capi-kubeadm-bootstrap-controller-manager-868596c46d-8m4tg       2/2     Running   0          15m
capi-kubeadm-control-plane-system   capi-kubeadm-control-plane-controller-manager-79b6f97dd-mnxg2    2/2     Running   0          15m
capi-system                         capi-controller-manager-8688d5b997-kx4sq                         2/2     Running   0          15m
capi-webhook-system                 capi-controller-manager-6f99d5d8b4-nnt4z                         2/2     Running   0          15m
capi-webhook-system                 capi-kubeadm-bootstrap-controller-manager-57f55d85f5-n6jnn       2/2     Running   0          15m
capi-webhook-system                 capi-kubeadm-control-plane-controller-manager-77766c7f8c-xf59c   2/2     Running   1          15m
capi-webhook-system                 capv-controller-manager-79b5fdc6db-lhb8g                         2/2     Running   0          15m
capv-system                         capv-controller-manager-79ff77f6c5-ctw78                         2/2     Running   0          15m
cert-manager                        cert-manager-69b4f77ffc-qx9zp                                    1/1     Running   0          16m
cert-manager                        cert-manager-cainjector-576978ffc8-l478k                         1/1     Running   0          16m
cert-manager                        cert-manager-webhook-c67fbc858-z5hjm                             1/1     Running   1          16m
kube-system                         calico-kube-controllers-5b644bc49c-qzpmq                         1/1     Running   0          16m
kube-system                         calico-node-457p2                                                1/1     Running   0          15m
kube-system                         calico-node-f2877                                                1/1     Running   0          16m
kube-system                         coredns-6955765f44-gwthg                                         1/1     Running   0          16m
kube-system                         coredns-6955765f44-pm7fl                                         1/1     Running   0          16m
kube-system                         etcd-tkg-mgmt-cluster-controlplane-0                             1/1     Running   0          16m
kube-system                         kube-apiserver-tkg-mgmt-cluster-controlplane-0                   1/1     Running   0          16m
kube-system                         kube-controller-manager-tkg-mgmt-cluster-controlplane-0          1/1     Running   0          16m
kube-system                         kube-proxy-5zn57                                                 1/1     Running   0          16m
kube-system                         kube-proxy-clkf6                                                 1/1     Running   0          15m
kube-system                         kube-scheduler-tkg-mgmt-cluster-controlplane-0                   1/1     Running   0          16m
Step 3. Deploy TKG Workload Cluster
Run the following command to deploy TKG Cluster called tkg-cluster-01 or any other name you wish to use along with the Virtual IP Address for TKG Workload Cluster Control Plane. By default, this will deploy the latest version of K8s which is currently v1.19.3
# tkg create cluster tkg-cluster-01 --plan=dev --vsphere-controlplane-endpoint-ip 192.168.2.11
Note: By default, the TKG dev plan will be used. If you wish to specify, simply use --plan=prod to specify the prod plan.
This will take a few minutes to complete. Once the TKG Cluster is up and running, we need to retrieve the credentials before we can use it. To do so, run the following command:
# tkg get credentials tkg-cluster-01
Credentials of workload cluster 'tkg-cluster-01' have been saved You can now access the cluster by running 'kubectl config use-context tkg-cluster-01-admin@tkg-cluster-01'
To switch context to our newly provisioned TKG Cluster, run the following command which will be based on the name of the cluster:
# k config use-context tkg-cluster-01-admin@tkg-cluster-01
Note: Another benefit of the TKG Demo Appliance is that the terminal prompt is automatically updated based on TKG Cluster context that you are currently in. If you had TKG CLI running on your desktop, this would not be known and you would have to interograte your context by using standard kubectl commands.
Here is what your terminal prompt would look like after deployingn TKG Management Cluster:

Here is what your terminal prompt would look like after switching context to the TKG Worload Cluster:

To list all available Kubernetes contexts in case you wish to switch, you can use the following command:
# k config get-contexts

CURRENT   NAME                                  CLUSTER          AUTHINFO               NAMESPACE
          tkg-cluster-01-admin@tkg-cluster-01   tkg-cluster-01   tkg-cluster-01-admin
*         tkg-mgmt-admin@tkg-mgmt               tkg-mgmt         tkg-mgmt-admin
Lets ensure all pods in our new TKG Cluster is up by running the following command:
# k get pods -A

NAMESPACE     NAME                                                         READY   STATUS    RESTARTS   AGE
kube-system   antrea-agent-kxk92                                           2/2     Running   0          114s
kube-system   antrea-agent-q29t5                                           2/2     Running   0          69s
kube-system   antrea-controller-7d888bb6-fb4ks                             1/1     Running   0          114s
kube-system   coredns-7879bb4549-7lncr                                     1/1     Running   0          114s
kube-system   coredns-7879bb4549-v7qlg                                     1/1     Running   0          114s
kube-system   etcd-tkg-cluster-01-control-plane-9dwm8                      1/1     Running   0          2m2s
kube-system   kube-apiserver-tkg-cluster-01-control-plane-9dwm8            1/1     Running   0          2m2s
kube-system   kube-controller-manager-tkg-cluster-01-control-plane-9dwm8   1/1     Running   0          2m2s
kube-system   kube-proxy-5gq9v                                             1/1     Running   0          114s
kube-system   kube-proxy-f6xqf                                             1/1     Running   0          69s
kube-system   kube-scheduler-tkg-cluster-01-control-plane-9dwm8            1/1     Running   0          2m2s
kube-system   kube-vip-tkg-cluster-01-control-plane-9dwm8                  1/1     Running   0          2m2s
kube-system   vsphere-cloud-controller-manager-6p5rr                       1/1     Running   0          114s
kube-system   vsphere-csi-controller-569d88c74d-s2rnn                      5/5     Running   0          114s
kube-system   vsphere-csi-node-rwpwk                                       3/3     Running   0          69s
kube-system   vsphere-csi-node-zqgh5                                       3/3     Running   0          113s
Step 4. Upgrade TKG Workload Cluster
To be able to deploy earlier releases of K8s version, you will need to set the VSPHERE_TEMPLATE environment variable matching the name of the vSphere Template for your desired K8s version.
In our example, we will depoy v1.18.10 and simply run the following command:
export VSPHERE_TEMPLATE=photon-3-kube-v1.18.10_vmware.1
Next, run the following command to deploy a TKG v1.18.8 Cluster called tkg-cluster-02 or any other name you wish to use along with the Virtual IP Address for TKG Workload Cluster Control Plane. We will use this new clsuter upgrade to latest v1.19.3.
# tkg create cluster tkg-cluster-02 --plan=dev --kubernetes-version=v1.18.10+vmware.1 --vsphere-controlplane-endpoint-ip 192.168.2.12
Note: By default, the TKG dev plan will be used. If you wish to specify, simply use --plan=prod to specify the prod plan.
Once the new TKG v1.18.10 Cluster has been provisioned, we can confirm its version before upgrading by running the following command:
# tkg get cluster

NAME            NAMESPACE  STATUS   CONTROLPLANE  WORKERS  KUBERNETES        ROLES
tkg-cluster-01  default    running  1/1           1/1      v1.19.3+vmware.1  <none>
tkg-cluster-02  default    running  1/1           1/1      v1.18.10+vmware.1  <none>
To start the upgrade, simply run the following command and specify the name of the cluster:
# tkg upgrade cluster tkg-cluster-02

Logs of the command execution can also be found at: /tmp/tkg-20201022T145741886222446.log
Upgrading workload cluster 'tkg-cluster-02' to kubernetes version 'v1.19.3+vmware.1'. Are you sure? [y/N]: y
Validating configuration...
Verifying kubernetes version...
Retrieving configuration for upgrade cluster...
Using custom image repository: registry.rainpole.io/library
Create InfrastructureTemplate for upgrade...
Configuring cluster for upgrade...
Upgrading control plane nodes...
Patching KubeadmControlPlane with the kubernetes version v1.19.3+vmware.1...
Waiting for kubernetes version to be updated for control plane nodes
Upgrading worker nodes...
Patching MachineDeployment with the kubernetes version v1.19.3+vmware.1...
Waiting for kubernetes version to be updated for worker nodes...
updating 'metadata/tkg' add-on...
Cluster 'tkg-cluster-02' successfully upgraded to kubernetes version 'v1.19.3+vmware.1'
Depending on the size of your TKG Cluster, this operation can take some time to complete. To confirm the version of TKG Cluster after the upgrade, we can run the following command to verify:
# tkg get cluster

NAME            NAMESPACE  STATUS   CONTROLPLANE  WORKERS  KUBERNETES        ROLES
tkg-cluster-01  default    running  1/1           1/1      v1.19.3+vmware.1  <none>
tkg-cluster-02  default    running  1/1           1/1      v1.19.3+vmware.1  <none>
Step 5 Tanzu Mission Control (Optional)
Note: Internet connectivity will be required from the TKG Network to reach Tanzu Mission Control service.
Login to VMware Cloud Console and ensure that you have been entitled to the Tanzu Mission Control(TMC) service. You can confirm this by making sure you see the TMC Service tile as shown below. If you are not entitled, please reach out to your VMware account team to register for TMC evaluation.

Next, click on your user name and navigate to “My Accounts” to create the required API token

Generate a new API token for the TMC service which will be required to attach our TKG Cluster that we have deployed earlier.

Make a note of the API Token as we will need this later. If you forget to copy it or have lost it, you can simply come back into this screen and just re-generate.
Lets now jump back into the TKG Demo Appliance to attach our TKG Cluster to TMC.
Run the following command to login to the TMC service and provide the API Token that you had created earlier along with a context name which is user defined.
# tmc login -c -n tkg-cluster-01

Now we need to create a TMC Cluster Group which allows you to logically group TKG Cluster which is reflected in the TMC UI. To do so, run the following command and give it a name
# tmc clustergroup create -n vmc-cluster

ℹ using template "default"
✔ clustergroup "vmc-cluster" created successfully
To attach our TKG Cluster, we need to run the following command which will generate YAML manifest which we will need to run to actually deploy TMC Pod into our TKG Cluster
# tmc cluster attach --group vmc-cluster --name vmc-tkg-cluster-01

✔ cluster "vmc-tkg-cluster-01" created successfully
ℹ Run `kubectl apply -f k8s-attach-manifest.yaml` to attach the cluster
Finally, we run the apply to attach our TKG Cluster to TMC
# k apply -f k8s-attach-manifest.yaml

namespace/vmware-system-tmc created
configmap/stack-config created
secret/tmc-client-secret created
customresourcedefinition.apiextensions.k8s.io/agents.clusters.tmc.cloud.vmware.com created
customresourcedefinition.apiextensions.k8s.io/extensions.clusters.tmc.cloud.vmware.com created
serviceaccount/extension-manager created
clusterrole.rbac.authorization.k8s.io/extension-manager-role created
clusterrolebinding.rbac.authorization.k8s.io/extension-manager-rolebinding created
service/extension-manager-service created
deployment.apps/extension-manager created
serviceaccount/extension-updater-serviceaccount created
clusterrole.rbac.authorization.k8s.io/extension-updater-clusterrole created
clusterrolebinding.rbac.authorization.k8s.io/extension-updater-clusterrolebinding created
service/extension-updater created
deployment.apps/extension-updater created
serviceaccount/agent-updater created
clusterrole.rbac.authorization.k8s.io/agent-updater-role created
clusterrolebinding.rbac.authorization.k8s.io/agent-updater-rolebinding created
deployment.apps/agent-updater created
cronjob.batch/agentupdater-workload created

TKG Demos
Step 1. Storage Class and Persistent Volume
Change into storage demo directory on the TKG Demo Appliance
cd /root/demo/storage
Retrieve the vSphere Datastore URL from the vSphere UI which will be used to create our Storage Class definition

Note: There are many ways of associating a vSphere Datastore to Storage Class definition. In VMC, this is currently required as the Cloud Native Storage/Container Storage Interface in VMC can leverage vSphere Tags yet.
Edit the defaultstorageclass.yaml and update the datastoreurl property
kind: StorageClass
apiVersion: storage.k8s.io/v1
metadata:
  name: standard
  annotations:
    storageclass.kubernetes.io/is-default-class: "true"
provisioner: csi.vsphere.vmware.com
parameters:
  datastoreurl: ds:///vmfs/volumes/vsan:c4f738225e324622-b1e100dd1abe8249/
Note Make there is a trailing “/” at the end of the datastoreurl value, this is required. If you copy the URL from the vSphere UI, the correct URL will be included.
Create Storage Class definition:
# k apply -f defaultstorageclass.yaml

persistentvolumeclaim/pvc-test created
Confirm the Storage Class was created:
# k get sc

NAME                 PROVISIONER              RECLAIMPOLICY   VOLUMEBINDINGMODE   ALLOWVOLUMEEXPANSION   AGE
standard (default)   csi.vsphere.vmware.com   Delete          Immediate           false                  3s

Create 2GB Persistent Volume called pvc-test using our default Storage Class:
# k apply -f pvc.yaml
persistentvolumeclaim/pvc-test created
Confirm the Persistent Volum was created:
# k get pvc

NAME       STATUS   VOLUME                                     CAPACITY   ACCESS MODES   STORAGECLASS   AGE
pvc-test   Bound    pvc-ff86c605-d600-4bcc-ac03-9f511fe7cb77   2Gi        RWO            standard       13m
Note: This can take up to a few seconds before the PV has been realized in vSphere
We can also see the new Persistent Volume in vSphere UI by navigating to the specific vSphere Datatore under Monitor->Container Volumes

Delete the Persistent Volume:
# k delete pvc pvc-test

persistentvolumeclaim "pvc-test" deleted
Step 2. Simple K8s Demo App
Change into yelb demo directory on the TKG Demo Appliance
cd /root/demo/yelb
Create yelb namespace for our demo:
k create ns yelb
Deploy the yelb application:
# k apply -f yelb.yaml

service/redis-server created
service/yelb-db created
service/yelb-appserver created
service/yelb-ui created
deployment.apps/yelb-ui created
deployment.apps/redis-server created
deployment.apps/yelb-db created
deployment.apps/yelb-appserver created
Wait for the deployment to complete by running the following:
# k -n yelb get deployments

NAME             READY   UP-TO-DATE   AVAILABLE   AGE
redis-server     1/1     1            1           47s
yelb-appserver   1/1     1            1           47s
yelb-db          1/1     1            1           47s
yelb-ui          1/1     1            1           47s
Retrieve the “UI” Pod ID:
# k -n yelb get pods | grep ui

yelb-ui-79c68df689-66bwq          1/1     Running   0          2m
Retrieve the IP Address of the Worker Node running the “UI” container:
# k -n yelb describe pod yelb-ui-79c68df689-66bwq
Name:         yelb-ui-79c68df689-66bwq
Namespace:    yelb
Priority:     0
Node:         william-02-md-0-848878f85b-vddk4/192.168.2.185
Start Time:   Tue, 24 Mar 2020 18:19:23 +0000
...
...
The IP Address can be found at the top under the Node: property and in this example, it is 192.168.2.185
If you have a desktop machine that has a browser and can access the TKG Network, you can open a browser to the following address: http://192.168.2.185:31001
If you do not have a system, then we can still connect but we will need to setup SSH port forwarding to IP Address above.
ssh root@[TKG-DEMO-APPLIANCE-IP] -L 30001:192.168.2.185:31001
Once you have established the SSH tunnel, you can open browser on your local system localhost:31001
The Yelb application is interactive, so you feel free to play around with it

Note: Details about this demo app can be found here and the original author of the application is Massimo Re’Ferre (his legacy lives on as Ex-VMware)
Befor proceeding to the next two demo, you will need to delete the yelb application:
k delete -f yelb.yaml
Step 3. Basic Load Balancer
Change into metallb demo directory on the TKG Demo Appliance
cd /root/demo/metallb
Edit the metallb-config.yaml and update the addresses property using small subset of the DHCP range from the tkg-network network. In our example, we used 192.168.2.0/24, so lets chose the last 5 IP Addresses for the Metal LB to provision from.
apiVersion: v1
kind: ConfigMap
metadata:
  namespace: metallb-system
  name: config
data:
  config: |
    address-pools:
    - name: default
      protocol: layer2
      addresses:
      - 192.168.2.246-192.168.2.250
Create the metallb-system namespace:
# k create ns metallb-system

namespace/metallb-system created
Create required secret:
# k create secret generic -n metallb-system memberlist --from-literal=secretkey="\$(openssl rand -base64 128)"

secret/memberlist created
Deploy Metal LB:
# k apply -n metallb-system -f metallb.yaml

podsecuritypolicy.policy/controller created
podsecuritypolicy.policy/speaker created
serviceaccount/controller created
serviceaccount/speaker created
clusterrole.rbac.authorization.k8s.io/metallb-system:controller created
clusterrole.rbac.authorization.k8s.io/metallb-system:speaker created
role.rbac.authorization.k8s.io/config-watcher created
role.rbac.authorization.k8s.io/pod-lister created
clusterrolebinding.rbac.authorization.k8s.io/metallb-system:controller created
clusterrolebinding.rbac.authorization.k8s.io/metallb-system:speaker created
rolebinding.rbac.authorization.k8s.io/config-watcher created
rolebinding.rbac.authorization.k8s.io/pod-lister created
daemonset.apps/speaker created
deployment.apps/controller created
Apply our Metal LB configuration:
# kubectl apply -n metallb-system -f metallb-config.yaml

configmap/config created
Verify all pods within metallb-system namespace is running:
# k -n metallb-system get pod

NAME                          READY   STATUS    RESTARTS   AGE
controller-66fdff65b9-bwxq7   1/1     Running   0          2m40s
speaker-8jz5m                 1/1     Running   0          2m40s
speaker-bmxcq                 1/1     Running   0          2m40s
speaker-fsxq5                 1/1     Running   0          2m40s
speaker-t2pgj                 1/1     Running   0          2m40s
speaker-vggr8                 1/1     Running   0          2m40s
speaker-zjw7v                 1/1     Running   0          2m40s
Step 4. Basic K8s Demo App Using Load Balancer
Change into yelb demo directory on the TKG Demo Appliance
cd /root/demo/yelb
Deploy the yelb Load Balancer version of the application:
# k apply -f yelb-lb.yaml

service/redis-server created
service/yelb-db created
service/yelb-appserver created
service/yelb-ui created
deployment.apps/yelb-ui created
deployment.apps/redis-server created
deployment.apps/yelb-db created
deployment.apps/yelb-appserver created
Wait for the deployment to complete by running the following:
# k -n yelb get deployments

NAME             READY   UP-TO-DATE   AVAILABLE   AGE
redis-server     1/1     1            1           52s
yelb-appserver   1/1     1            1           52s
yelb-db          1/1     1            1           52s
yelb-ui          1/1     1            1           52s
Retrieve the Load Balancer IP for the Yelb Service:
# k -n yelb get svc

NAME             TYPE           CLUSTER-IP       EXTERNAL-IP     PORT(S)        AGE
redis-server     ClusterIP      100.66.186.168   <none>          6379/TCP       84s
yelb-appserver   ClusterIP      100.65.7.122     <none>          4567/TCP       84s
yelb-db          ClusterIP      100.69.33.14     <none>          5432/TCP       84s
yelb-ui          LoadBalancer   100.68.255.238   192.168.2.245   80:31376/TCP   84s
We should see an IP Address allcoated from our Metal LB range in the EXTERNAL-IP column. Instead of connecting directly to a specific TKG Cluster Node, we can now connect via this Load Balancer IP and you will see it is mapped to port 80 instead of the original appplicatio port on 31001
If you have a desktop machine that has a browser and can access the TKG Network, you can open a browser to the following address: http://192.168.2.245
If you do not have a system, then we can still connect but we will need to setup SSH port forwarding to IP Address above and we’ll use local port of 8081 to ensure there are no conflicts
ssh root@[TKG-DEMO-APPLIANCE-IP] -L 8081:192.168.2.245:80
Once you have established the SSH tunnel, you can open browser on your local system localhost:8081
Extras (Optional)
Harbor
A local Harbor instance is running on the TKG Demo Appliance and provides all the required containers for setting up TKG Clusters and TKG demos in an air-gap/non-internet environment.
You can connect to the Harbor UI by pointing a browser to the address of your TKG Demo Appliance with the following credentials:
Username: admin Password: Tanzu1!

You can also login to Harbor using Docker CLI to push and/or pull additional containers by using the following:
# docker login -u admin -p Tanzu1! registry.rainpole.io/library

WARNING! Using --password via the CLI is insecure. Use --password-stdin.
WARNING! Your password will be stored unencrypted in /root/.docker/config.json.
Configure a credential helper to remove this warning. See
https://docs.docker.com/engine/reference/commandline/login/#credentials-store

Login Succeeded
Note: You must use registry.rainpole.io which is a real certificate generated by letsencrypt which requires a domain that you own using DNS-challenge. To support air-gap/non-internet scenarios, TKG today requires a registry that has a proper signed certificate (self-sign and custom CA) are NOT currently supported.
Octant
To easily navigate, learn and debug Kubernetes a useful tool such as Octant can be used. Octant is already installed on the TKG Demo Appliance and you can launch it running the following command:
octant

Octant listens locally on 127.0.0.1:7777 and to be able to access the Octant UI, we need to setup SSH port forwarding to TKG Demo Appliance IP on port 7777
To do so, run the following command in another terminal:
ssh root@[TKG-DEMO-APPLIANCE-IP] -L 7777:127.0.0.1:7777
Note: You can also use Putty to setup SSH port forwarding, please refer to the TKG UI for instructions.
Once you have established the SSH tunnel, you can open browser on your local system localhost:7777 and you should see the Octant UI.

For more information on how to use Octan, please refer to the official documentation here
Forward TKG logs to vRealize Log Intelligence Cloud
Note: Internet connectivity will be required from the TKG Network to reach the vRLIC service.
Please see https://blogs.vmware.com/management/2020/06/configure-log-forwarding-from-vmware-tanzu-kubernetes-cluster-to-vrealize-log-insight-cloud.html for more details
Monitor TKG Clusters with vRealize Operations Cloud
Note: Internet connectivity will be required from the TKG Network to reach the vROPs Cloud service.
Please see https://blogs.vmware.com/management/2020/06/monitor-tanzu-kubernetes-clusters-using-vrealize-operations.html for more details
Setup Network Proxy for TKG Mgmt and Workload Clusters
Please see https://www.virtuallyghetto.com/2020/05/how-to-configure-network-proxy-with-standalone-tanzu-kubernetes-grid-tkg.html for more details